Enhancing Synology's DNS with CloudFlare DDNS via Docker, Migrating from Google Domains to Cloudflare Domain DDNS

This guide will effortlessly walk you through the setup of Cloudflare DDNS with just a few simple steps, requiring no prior knowledge of SSH or command line interfaces on your Synology.
This guide works perfectly fine with DSM 7.2 and above
- Make sure to have your A record setup for your domain in cloudflare.
Go to Your domain Click on DNS and click on add record
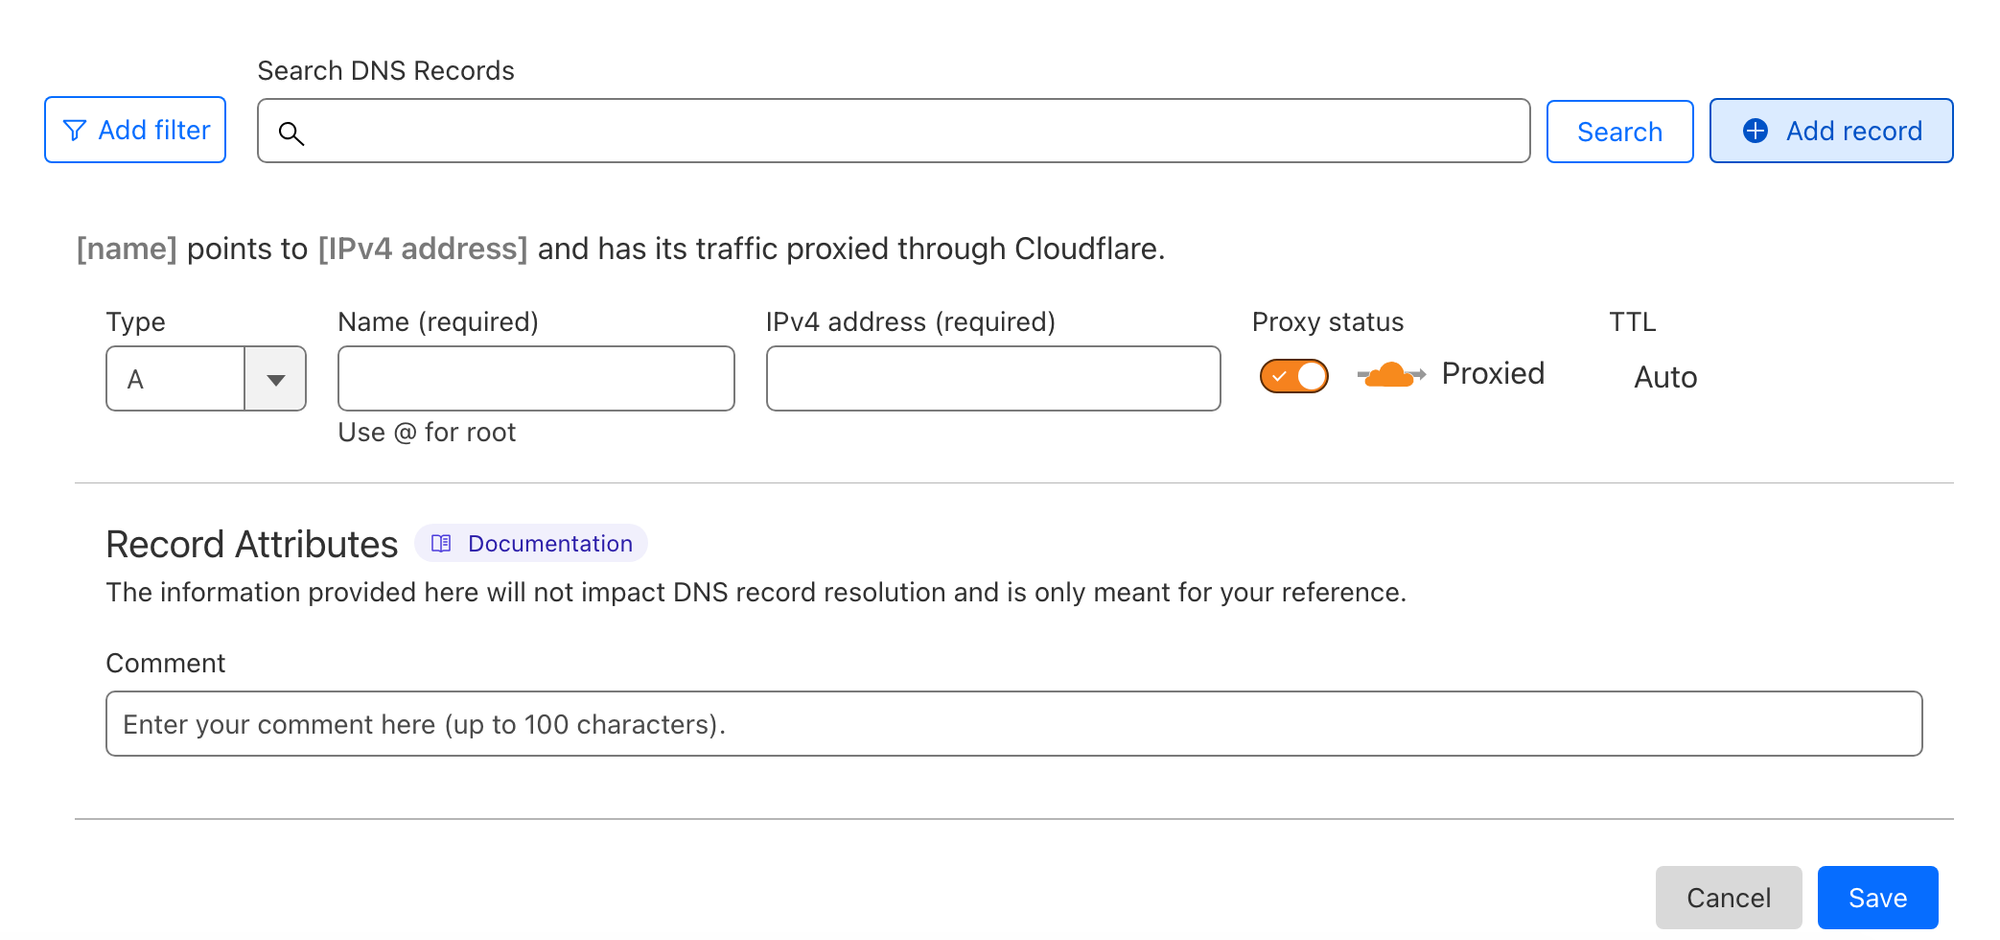
For main domain Name should be @ and you can add dummy ip address as 127.0.0.1 and set proxy status to disabled.
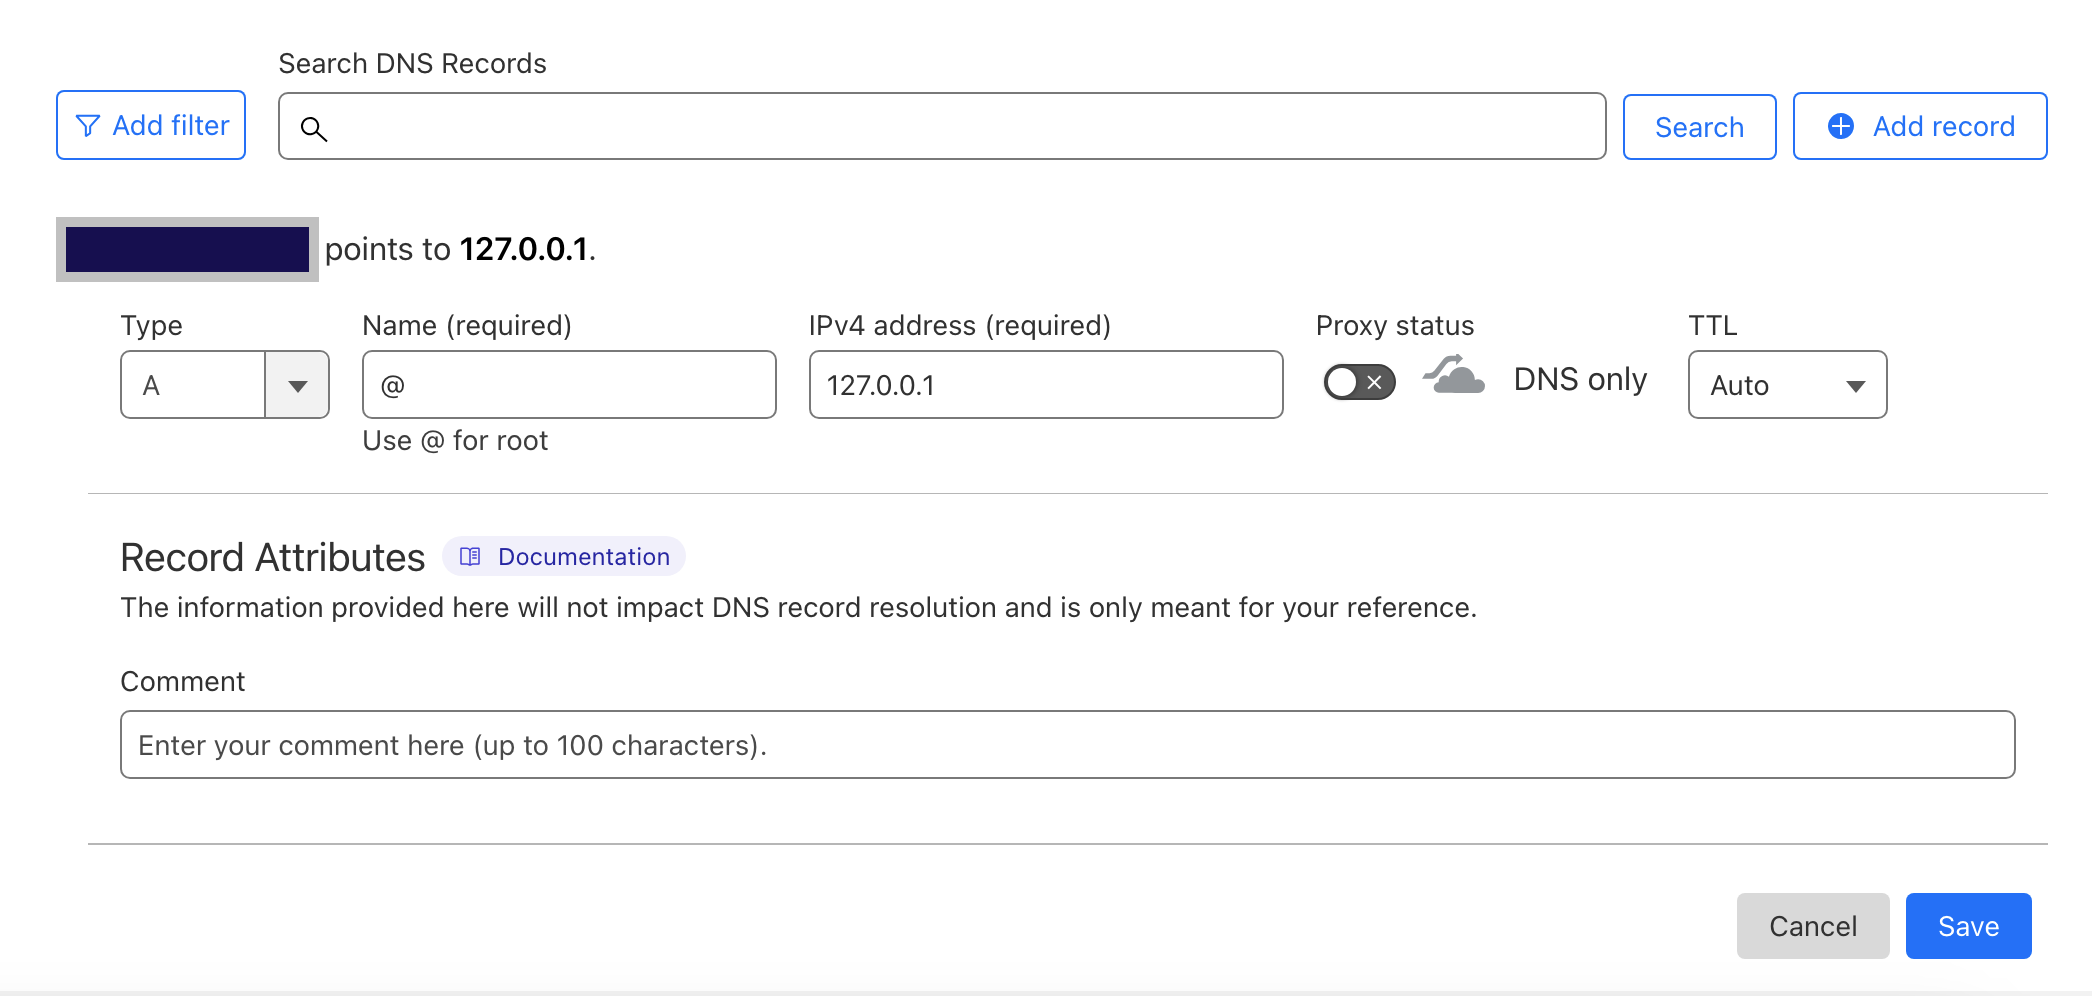
In the same way you can setup subdomain ,just make sure replace @ with your desired domain name for example
@--> blog
for which you have already setup reverse proxy on Synology.
- Next step is to get the API token which will be needed for updating your DDNS record on cloudflare.
In cloudflare go to My profile in top right corner and click on API Token.

Click on Create token and choose last option to create custom token

Give name to your token and choose below changes as mentioned in the image .
ZONE --> ZONE SETTING --> READ
ZONE--> ZONE--> READ
ZONE--> DNS--> EDIT
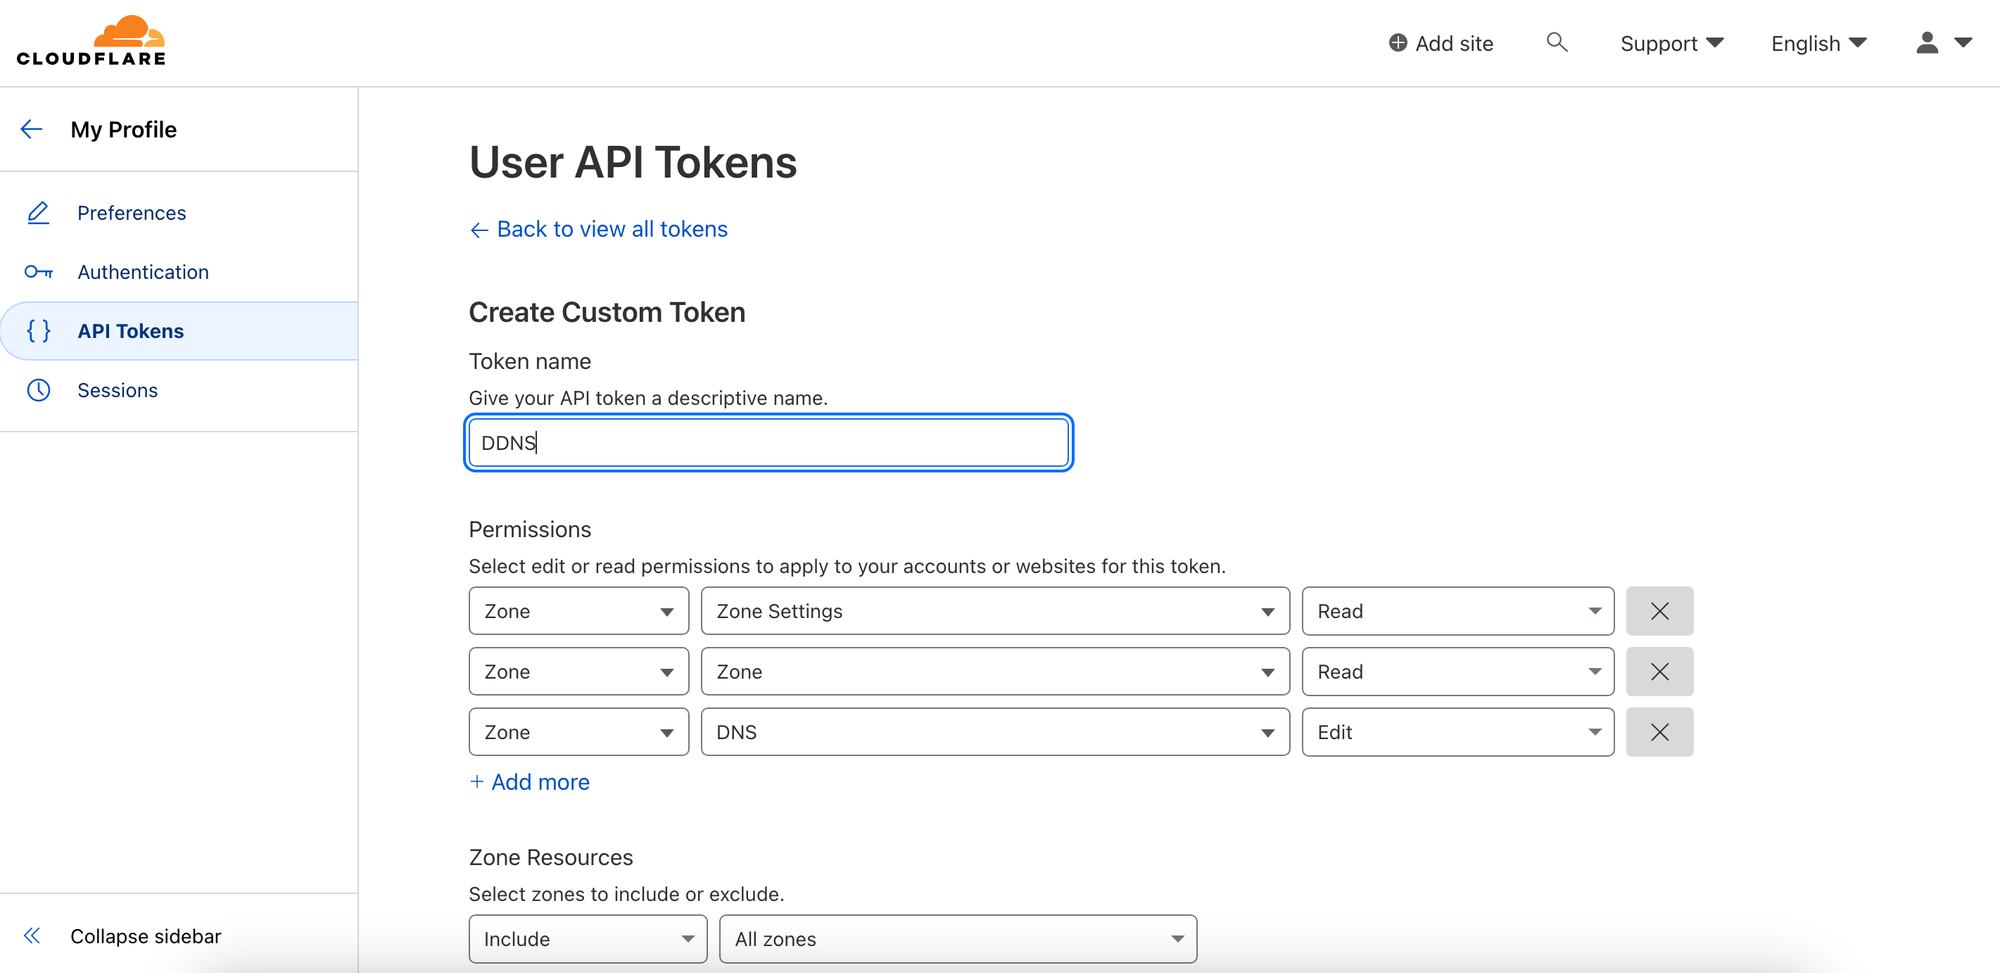
and click continue to summary

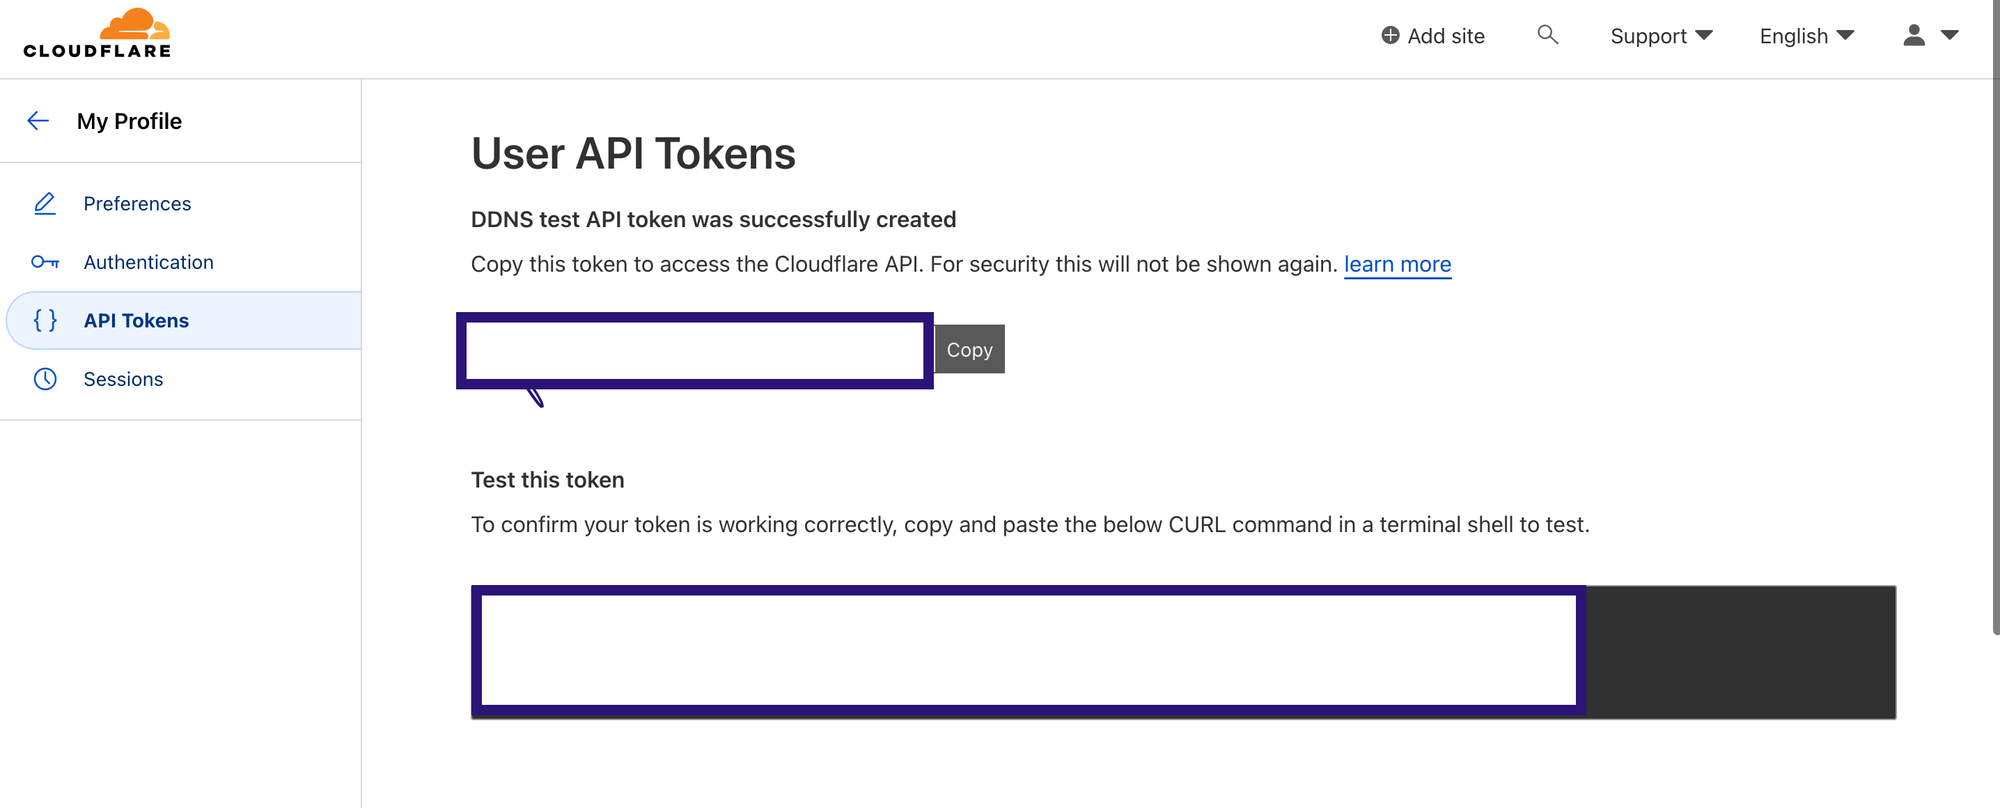
and Create Token and you will get your token , keep the token handy as it will be shown only once.
3. Once the above step is done go to Container manager on your Synology NAS and search for below docker in registry
favonia/cloudflare-ddns

once the image is downloaded ,select it and click on run
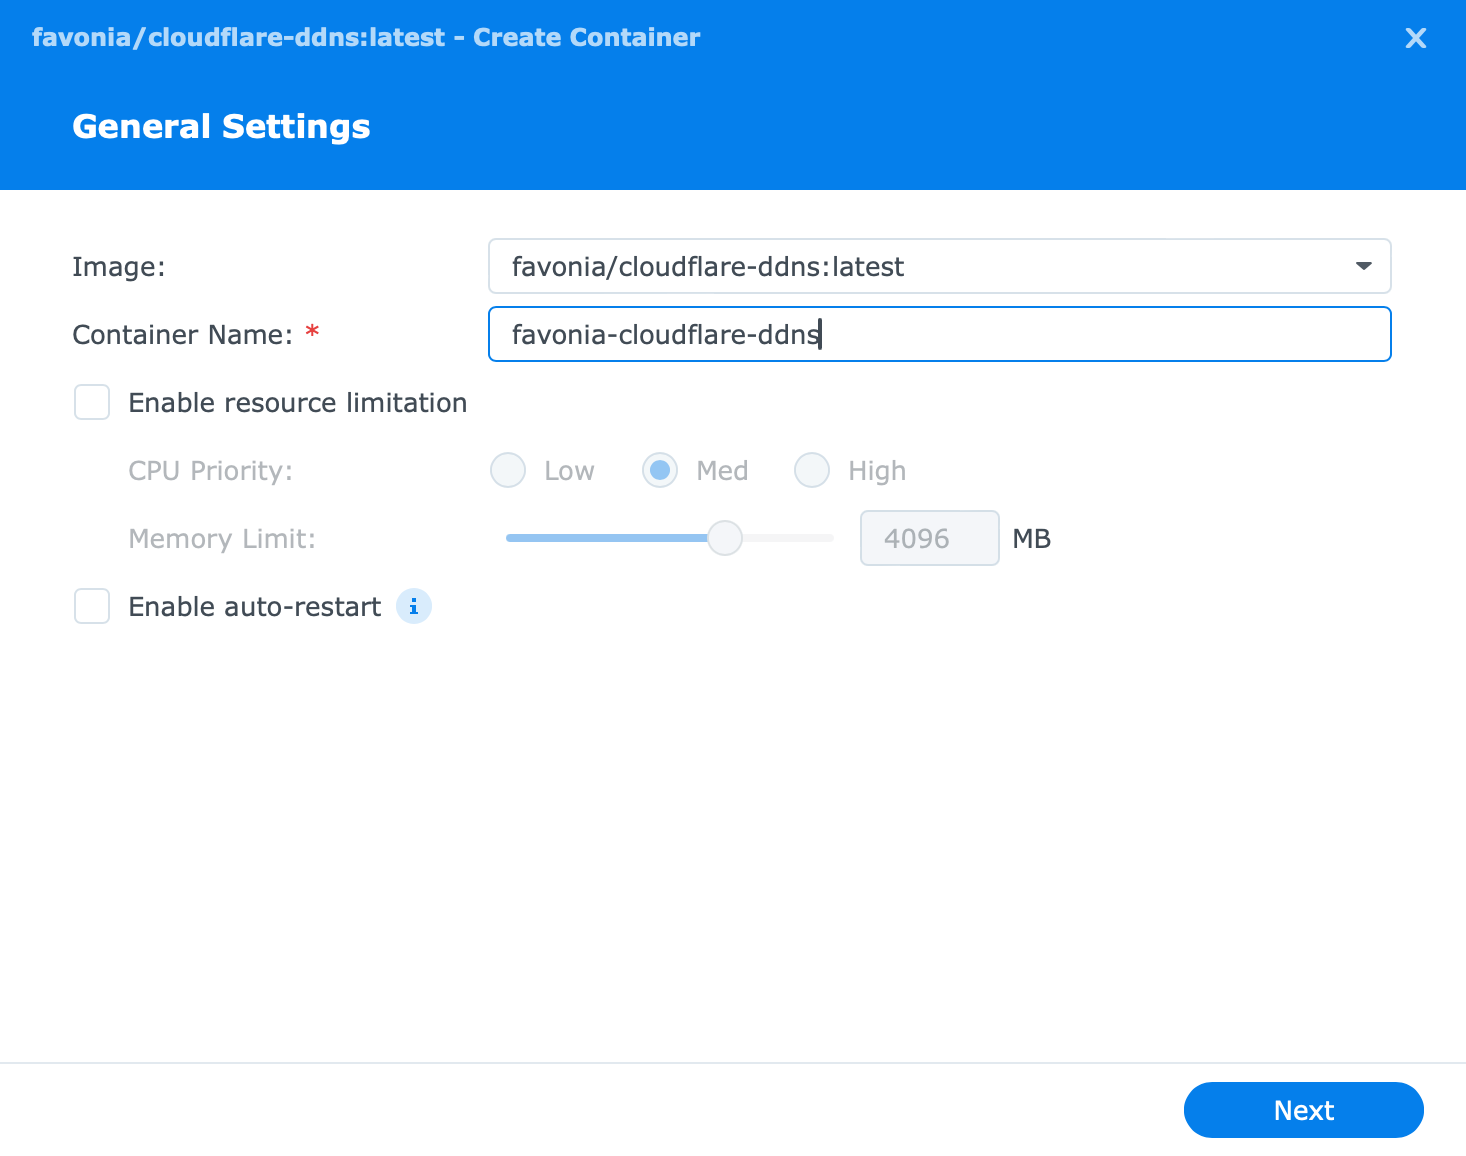
click next and define below Env variables in it .
CF_API_TOKEN. — your API token which is generated earlier
DOMAINS. — your main domain name example.com
IP6_PROVIDER – set it to none in case you are using only ipv4
PUID — set to 1000 for minimum privilege as docker required your public ip only
PGID — set to 1000 for minimum privilege
IP4_DOMAINS — list all your subdomain here with comma separated
for example foo.example.com,blog.example.com,abc.example.com and many more.
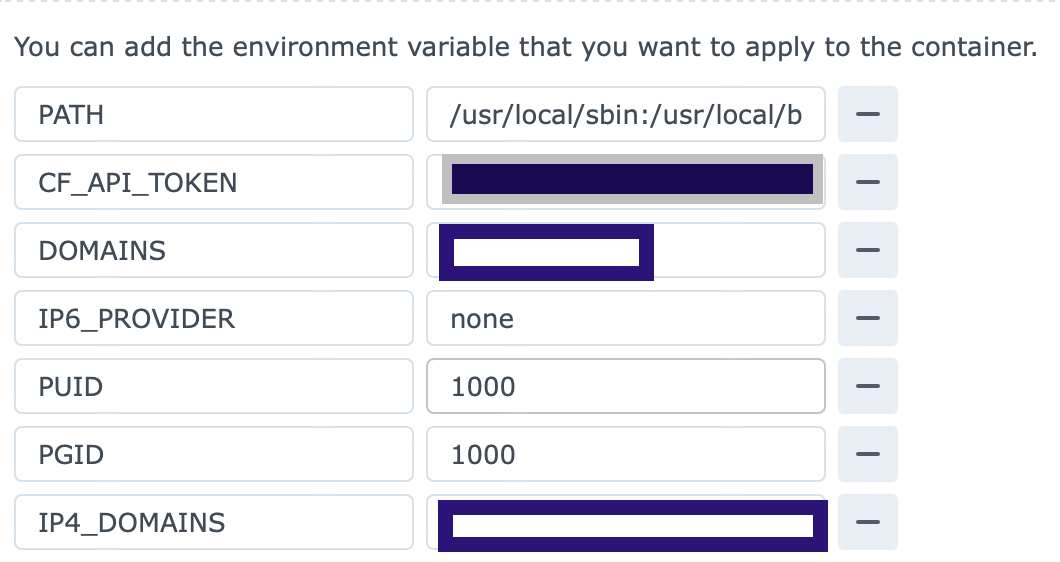
You don't need to add anything else and click next and run the container.
You A record in your domain will be updated accordingly with your public ip address of your router.
for more additional variable you can visit the below link from where i took the inspiration to setup cloudflare ddns.
https://github.com/favonia/cloudflare-ddns


